Servicing : Gold CoastBrisbaneSunshine CoastToowoomba

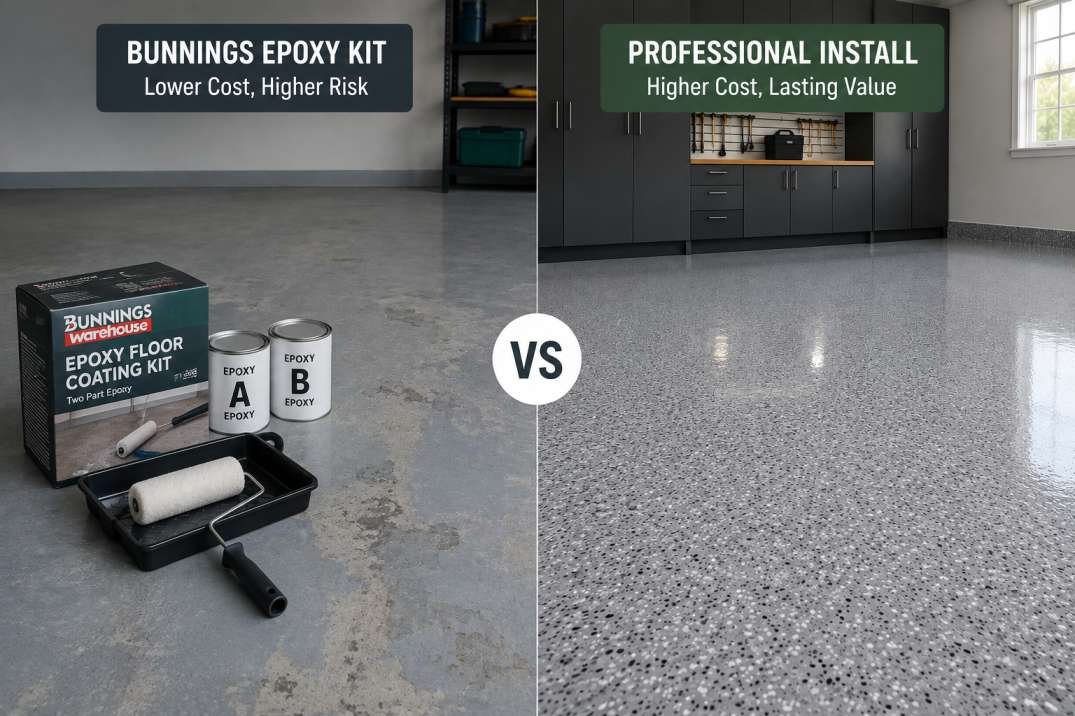
Bunnings Epoxy Kit vs Professional Install: Cost, Lifespan and Risks
A Bunnings epoxy kit can work on a small, dry, sound garage slab if you follow the instructions exactly, and it costs far less upfront. A professional install grinds the slab, uses thicker materials and comes with a warranty. The gap shows in preparation, lifespan and what happens if the coating fails.
Here’s the short version. If your slab is small, dry and uncracked and you enjoy a weekend project, a kit is a fair option. If cars will park on it, or the slab has a history, the risks below are worth reading before you buy.
What does a Bunnings epoxy garage floor kit involve?
A kit needs you to clean, degrease, etch and test the slab, then mix and roll the epoxy in small sections before leaving it to cure. Bunnings’ own how-to guide lists 17 steps. Expect a full weekend of work plus several days before the floor is ready for a car.
The Bunnings guide to epoxying a garage floor covers the whole process, and it’s honest about the effort. It recommends working in sections of about 1 m by 1 m, mixing for 3 to 5 minutes and working within roughly an hour of mixing. It also tells you to run a porosity test and a moisture test before you start.
On timing, the same guide says to keep foot traffic off for at least 24 hours. It says to wait 4 to 7 days before parking a vehicle. It gives 15 to 29 degrees Celsius as the working range. Check the current guide before you plan, as products and advice change.
How does a DIY epoxy kit compare with a professional install?
A kit is cheaper upfront but relies on acid etching and thin coats, while a professional install grinds the slab, repairs defects and applies thicker layers. Resin Masters gives a written 7-year workmanship warranty. A kit gives you the product and the instructions. The result depends entirely on your slab and your technique.
| Factor | Bunnings-style DIY kit | Resin Masters professional install |
|---|---|---|
| Surface preparation | Degrease, pressure wash and acid etch, then test | Diamond grinding, crack repair, moisture test |
| Materials | Retail kit, typically a thinner build | 100% solids commercial-grade epoxy, 2 to 3 mm build, polyaspartic topcoat |
| Your time | A weekend plus drying days | None; installers do the work |
| Time before parking | Bunnings guide: 4 to 7 days | 48 to 72 hours for most garage floors |
| Upfront cost | About $300 to $800 for a double-garage kit, plus tools and prep products | Solid colour $50 to $90 per m2; flake $60 to $110 per m2 |
| Warranty | Product only; labour and prep are yours | Written 7-year workmanship warranty |
| If it fails | You remove it and start again | Covered by warranty terms |
For typical professional pricing, see epoxy flooring cost.
Why do garage epoxy kits peel or bubble?
Garage epoxy kits mostly peel because of weak preparation, slab moisture, hot tyres and application errors. Acid etching can leave a shallow profile, moisture vapour pushes the coating up from below, and hot tyres pull at thin films. Queensland heat and humidity add pressure to each of these.
- Etching instead of grinding. A thin coating on a lightly etched slab has less to grip.
- Moisture in the slab. Older slabs, slabs without a vapour barrier and slabs after heavy rain can all push vapour upward. Bubbles and flaking follow.
- Hot tyre pickup. Thin films can lift when a hot tyre cools and pulls at the surface.
- Heat and humidity during application. Resin can set too fast in heat, and humid air can affect the surface finish.
- Dust, oil and old sealers. Anything left on the slab becomes the weakest layer.
If a kit has already failed, the old coating has to be ground off before anything new goes on. That is the cost most people don’t budget for.
How much does a DIY epoxy kit really cost?
The kit price is only part of the cost. Add etching solution, degreaser, a pressure washer hire, rollers, brushes, tape, safety gear, flakes and an anti-slip additive, plus a weekend of your time. If the job fails, add the cost of removing it before a professional can recoat.
A fair way to compare is total DIY cost against a professional quote for the same area:
- Price the kit or kits for your floor area, allowing for the coverage stated on the pack. Resin Masters’ Brisbane cost guide puts a double-garage kit at about $300 to $800.
- Add prep and tools: degreaser, etching solution, pressure washer hire, rollers, brushes, tape, PPE.
- Add extras: decorative flakes, anti-slip additive, patching compound for cracks.
- Add a value for your own time, and a risk allowance for redoing the job.
- Compare the total with a written quote from Resin Masters. Its published ranges are $50 to $90 per m2 for solid colour and $60 to $110 per m2 for flake, so a 36 m2 double garage in flake works out at roughly $2,160 to $3,960.
When is a Bunnings kit the right choice?
A kit makes sense for a small, dry, uncracked slab that carries light traffic, or for a floor you’ll replace in a few years. If you like DIY, own a pressure washer and can leave the garage empty for a week, it’s a fair option. Be strict about the moisture test.
Follow the pack to the letter, keep to the temperature range, and read how to prepare concrete for epoxy before you open the tin.
When should you hire a professional instead?
Hire a professional if the slab has cracks, oil, an old coating or signs of moisture, or if cars will park on it daily. A double garage is also a lot to finish before the resin sets. A professional grind, repair and multi-layer system gives a better base and a warranty.
- Cracks, spalling or uneven patches that need repair before coating.
- Oil-soaked concrete or an existing coating that must come off.
- A slab that has ever shown damp, or a house on sloping ground.
- A floor you want to look right for resale, or a large area such as a double garage.
Our garage floor epoxy guide and best epoxy flooring for garages show what a professional job includes.
What should you ask a professional installer?
Ask how they prepare the slab, whether they test moisture, which topcoat they use for UV, and what the warranty covers in writing. Those four answers separate careful installers from the rest. Ask to see a job that’s more than a year old.
It’s the same test we’d want if we were hiring. A quote that doesn’t say how the concrete is prepared is not a complete quote.
Who is this comparison not for?
This post isn’t for anyone with a damp slab, and it isn’t a step-by-step DIY guide. If your slab has active moisture, neither a kit nor a coating is the first step. It also isn’t a criticism of DIY: many small kit jobs do fine.
If you want the full method, Bunnings’ own guide is the place for that.
Frequently asked questions
How long does a Bunnings epoxy garage floor last?
It varies with slab preparation, traffic and product. Kits that go onto a well-prepared, dry slab and see light traffic last longer than kits on etched or damp slabs under cars. Bunnings does not publish a lifespan figure in its guide, so ask the manufacturer for warranty terms.
Can I put a Bunnings epoxy kit over an old painted floor?
Not without preparation. Loose or glossy paint must be removed or abraded, and the surface must be clean and dry. Most kit instructions ask for bare, clean concrete. Check the pack for the exact requirement before you start.
How long should I wait before parking on a DIY epoxy floor?
Bunnings’ guide says 4 to 7 days before vehicles, and at least 24 hours before walking on it. Cool or humid weather can slow curing, so allow extra time and follow the instructions on your pack.
Is Queensland summer a bad time to do DIY epoxy?
It’s harder. The guide’s range is 15 to 29 degrees Celsius, and a garage in summer can exceed it. Start early, shade the slab and work in small sections. If you can’t stay in range, wait for cooler weather.
Can Resin Masters redo a failed DIY epoxy floor?
Yes, in most cases. The failed coating has to be ground off first, which adds cost and time. Resin Masters then repairs cracks and defects and recoats with its full system. Book a free, no-obligation on-site quote to see what your slab needs.