Servicing : Gold CoastBrisbaneSunshine CoastToowoomba

How to Refinish Garage Concrete Floor Properly
A stained, dusty garage slab does more than make the space look tired. Bare concrete absorbs oil, tyre marks, moisture and workshop spills, while Queensland heat can expose weak coatings through hot-tyre pickup and peeling. Knowing how to refinish garage concrete floor properly means treating the concrete as a substrate first, not simply painting over it.
For a finish that stays clean, strong and easy to maintain, preparation carries more weight than the topcoat. The right system can turn a garage into a practical extension of the home, but only if the slab is sound, dry enough and mechanically prepared to accept it.
Start by assessing the concrete
Before choosing a colour or coating type, inspect the slab closely. Look for cracking, spalling, old paint, tyre residue, oil contamination and white powdery deposits known as efflorescence. These issues do not automatically rule out a resin floor, but they must be addressed before coating begins.
Small static cracks can usually be chased, cleaned and filled with a suitable repair material. Larger movement cracks need a more considered approach, because a rigid coating may reflect future slab movement. Areas where the surface is soft, flaky or breaking away may require grinding back to sound concrete and rebuilding before any coating is applied.
Existing paint is another common issue. If it is peeling, patchy or poorly bonded, it needs to come off. Applying epoxy over an unstable layer only transfers the failure point upward. A new coating is only as reliable as the surface beneath it.
Choose a finish that suits how the garage is used
There is no single answer for every garage. A lightly used home garage may suit a decorative flake epoxy system with a clear protective topcoat. A workshop, storage area or space used by heavy vehicles may need a thicker, higher-build resin system selected for greater chemical and abrasion resistance.
Epoxy is a popular choice because it creates a hard, seamless surface that resists many automotive fluids, dust and everyday wear. Decorative flakes add texture, help disguise dirt and can improve visual depth. A polyurethane or polyaspartic topcoat may be specified where UV stability, stain resistance or faster return to service matters.
Slip resistance should be chosen carefully rather than assumed. A very smooth gloss finish can be easy to clean, but garages that are exposed to rain, pool traffic or regular wash-downs may benefit from a slip-resistant profile. For commercial settings, the required result should be assessed against the relevant Australian slip-resistance requirements, including AS 4586 where applicable.
How to refinish a garage concrete floor: preparation first
The most dependable way to refinish a garage concrete floor is mechanical surface preparation. Professional installers typically use diamond grinding to remove weak laitance, old coatings and contaminants while creating the surface profile needed for the resin to bond.
Acid etching is sometimes promoted as a shortcut, but it is difficult to control and can leave residues or uneven results if the slab is not thoroughly neutralised and rinsed. It also does little to remove heavy oil contamination, failed paint or dense concrete surfaces. For premium coating systems, mechanical grinding is generally the more consistent method.
A proper preparation process usually includes these key stages:
- Removing vehicles, shelving and loose items so the entire floor can be assessed and prepared.
- Degreasing oil spots and treating contaminated sections before grinding.
- Diamond grinding the slab to achieve a clean, open concrete profile.
- Vacuuming with industrial dust extraction so no grinding dust remains in joints or pores.
- Repairing cracks, pits and damaged edges with compatible materials, then re-grinding repaired areas flush.
This work can be noisy and dusty without the correct machinery. Quality contractors use enclosed grinding equipment and appropriate extraction to keep the work area controlled and to protect the bond of the coating system.
Test for moisture before coating
Moisture is one of the main reasons garage floor coatings fail, especially in humid coastal conditions across South East Queensland. Concrete can appear dry on the surface while moisture vapour continues to move through the slab. If a coating is applied without checking this risk, pressure beneath the film can cause bubbling, delamination or cloudy patches.
A professional assessment considers the age and condition of the slab, surrounding drainage, previous moisture issues and appropriate moisture testing results. The right response depends on the reading. Some floors can proceed with a standard primer, while others require a moisture-tolerant or moisture-barrier epoxy primer before the main coating is installed.
Do not rely on a taped-down plastic sheet as the final decision-maker. It may flag obvious moisture, but it is not a substitute for proper testing and system selection. This is particularly relevant for garages on ground-level slabs, older homes and properties in high-humidity areas.
Apply the coating within the correct recoat window
Once the concrete is prepared, repaired and approved for coating, application needs to be methodical. Temperature, humidity and product mix ratios all affect working time and final performance. Resin products are not forgiving when mixed by guesswork or spread too thinly.
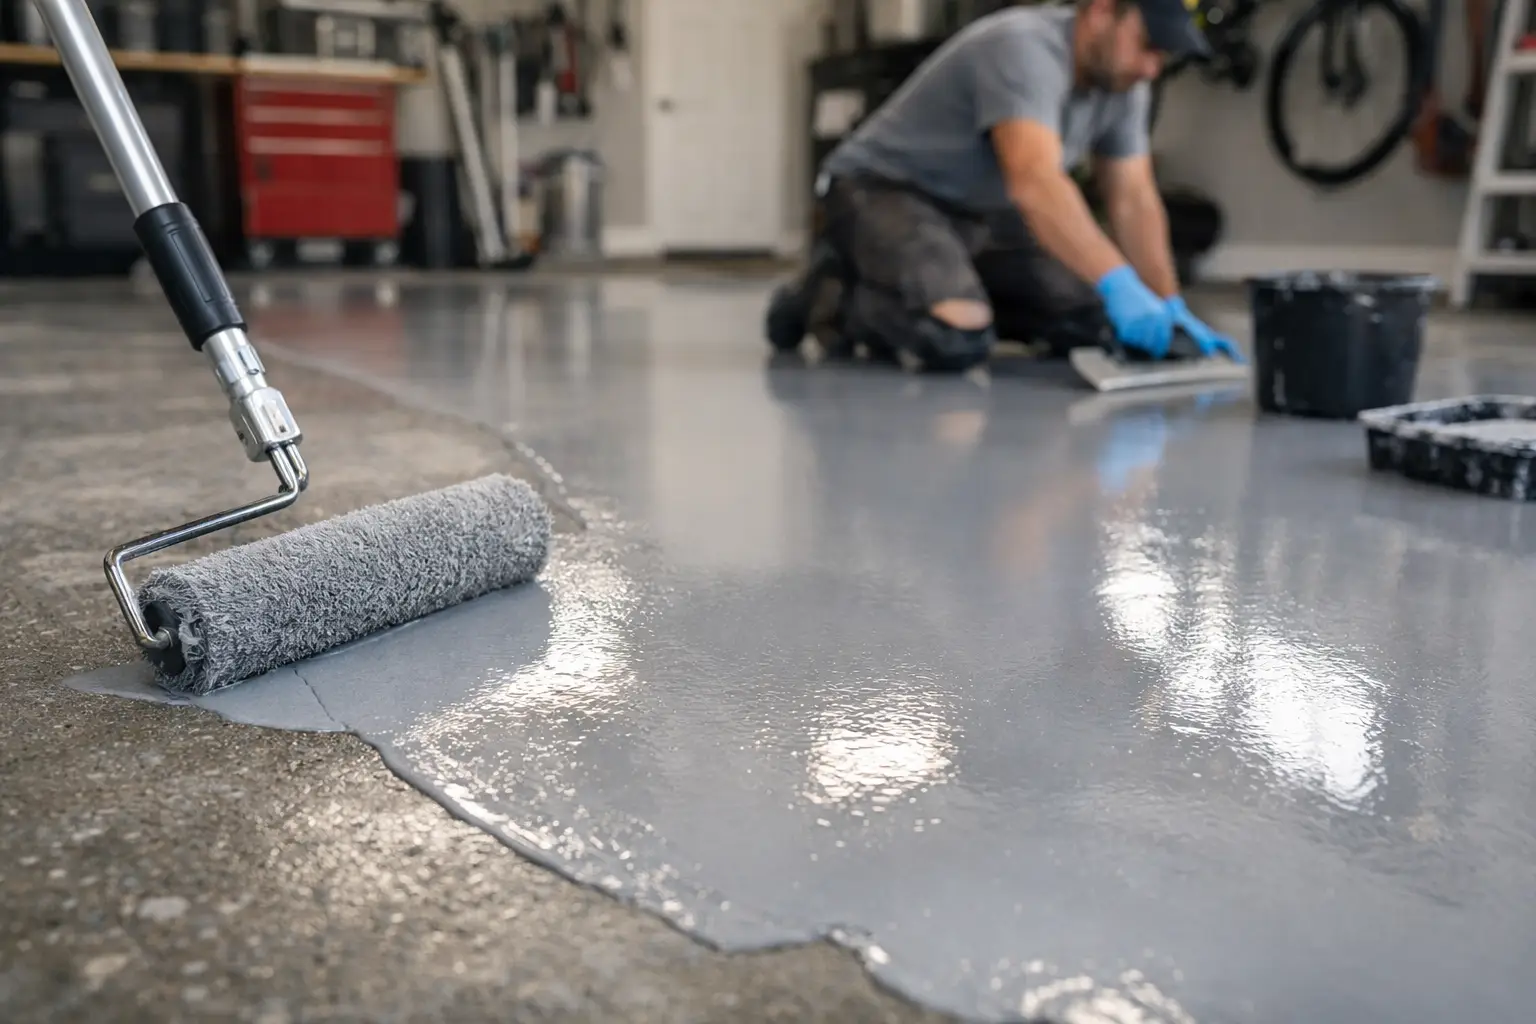
The process commonly starts with a primer coat that penetrates and anchors to the prepared slab. A body coat follows to build colour and film thickness. If decorative flakes are selected, they are broadcast into the wet coat at the specified rate, then excess flakes are scraped and vacuumed once cured. The floor is then sealed with one or more clear topcoats.
Each layer must be applied within the manufacturer’s stated recoat window. Leaving it too long can reduce intercoat adhesion and may require additional sanding or grinding. Rushing the next coat before the prior layer has cured sufficiently can create other defects. This is why experienced installation matters as much as the product itself.
Allow enough cure time before moving back in
A floor can feel dry to touch well before it is ready for vehicle traffic. Light foot traffic may be possible within a day or two, depending on the system and weather conditions, but tyres, heavy cabinets and jacks should wait until the full recommended cure period has passed.
Avoid parking a vehicle on the finish early, even if it looks hard. Tyres retain heat after driving, and early loading can mark or compromise an uncured coating. Once fully cured, a quality garage resin system is designed to handle daily vehicles, tool storage and routine cleaning with far less effort than bare concrete.
For maintenance, sweep abrasive grit regularly and clean spills promptly. Use a soft broom or microfibre mop with a mild cleaner rather than harsh solvents or abrasive pads. A properly finished floor should not need constant attention, but simple care protects its gloss and service life.
When professional refinishing is the better investment
DIY kits can suit very small, low-demand projects where the slab is clean, dry and in excellent condition. The trade-off is that most kits provide limited film build, limited moisture protection and little margin for preparation mistakes. They can look good initially, then fail at tyre paths, repaired cracks or damp areas.
For garages that need a premium finish and long-term performance, professional installation provides the equipment, moisture management and product selection that the slab actually requires. Resin Masters prepares each floor around its condition, intended use and local environment, rather than applying a one-size-fits-all coating.
A garage floor should be able to handle the ute, the weekend project, wet shoes and years of daily use without becoming another maintenance job. Start with the concrete, insist on proper preparation, and the finished surface will have the strength and appearance to earn its place in the home.