Servicing : Gold CoastBrisbaneSunshine CoastToowoomba

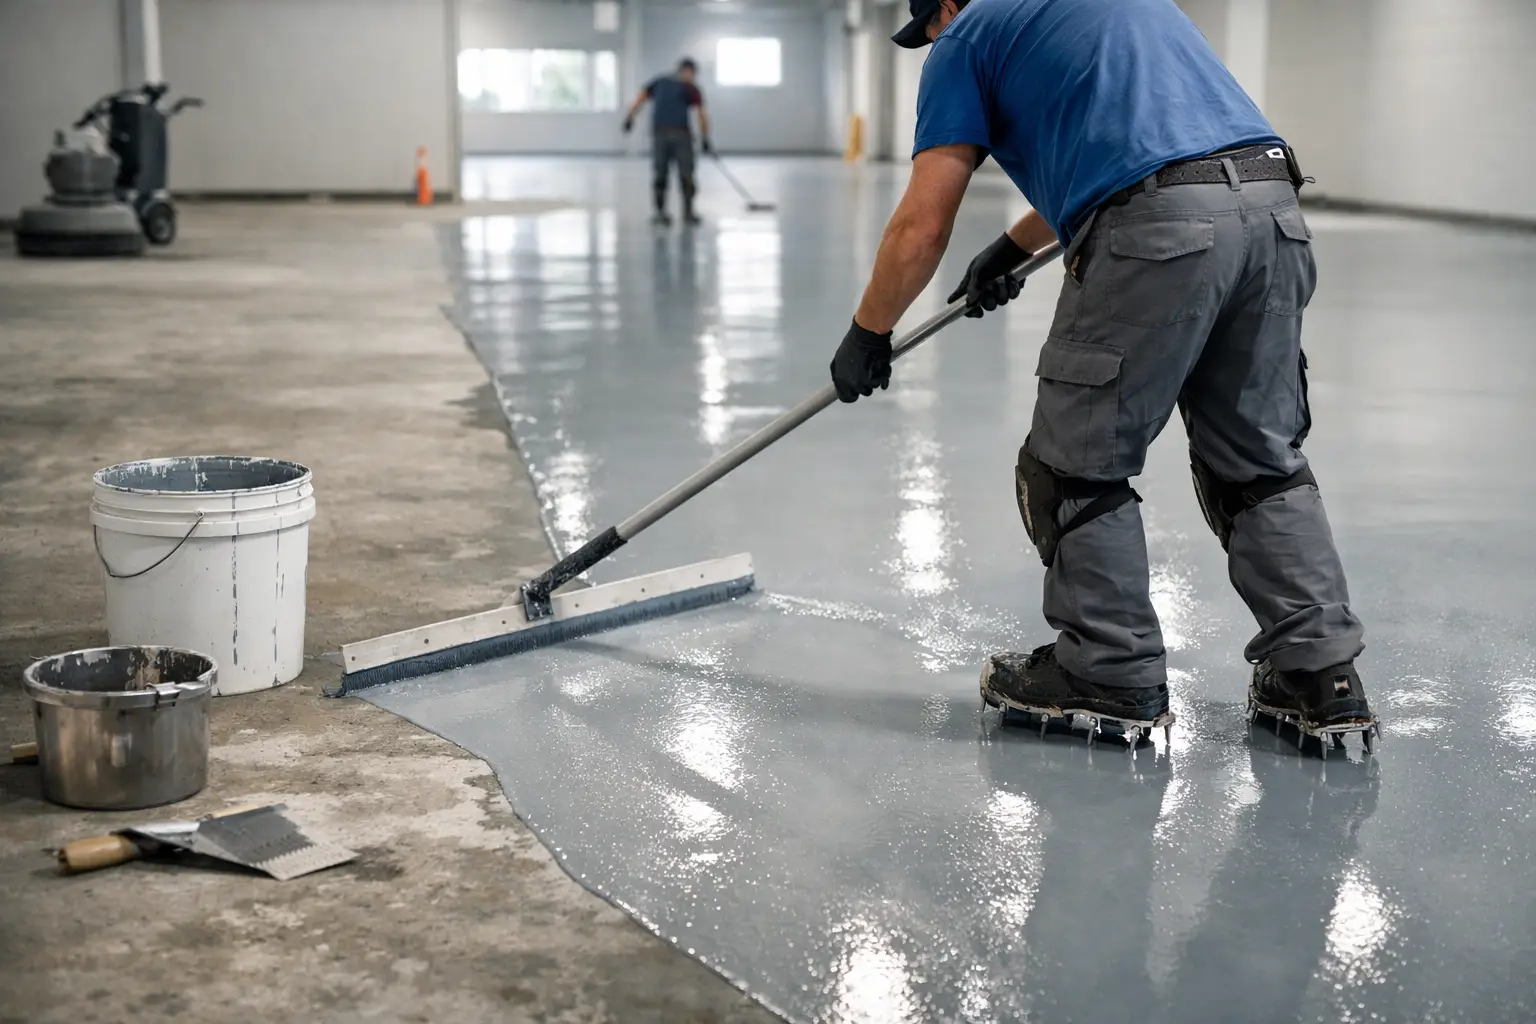
Epoxy Flooring Installation Guide for Lasting Results
A floor usually fails long before the coating goes down. The problem starts in the concrete – dust in the pores, hidden moisture, hairline cracking, oil contamination, or a surface that was never prepared properly in the first place. That is why any epoxy flooring installation guide worth following starts with preparation, not product. If you want a floor that keeps its gloss, bonds hard, and handles real traffic, the installation process matters more than the brochure.
For homeowners, that might mean stopping hot tyre pickup in a garage through a Queensland summer. For commercial operators, it often means getting a finish that is easy to clean, safe underfoot, and built to take pallet jacks, forklifts, or constant foot traffic. The coating itself is only one part of the system. Surface profile, moisture control, application timing, and slip-resistance all influence how the floor performs over the next five to ten years.
Epoxy flooring installation guide – where the job is won or lost
Epoxy flooring is a resin-based coating system designed to bond tightly to prepared concrete. Once cured, it creates a hard-wearing, seamless surface that resists stains, abrasion, and general wear far better than bare slab. It is a strong option for garages, workshops, showrooms, warehouses, plant rooms and selected interior residential areas.
That said, not every epoxy floor is the same. A thin paint-like roll-on from a DIY kit will not perform like a professionally installed multi-coat system with mechanical grinding, crack repair, moisture mitigation and a proper topcoat. Thickness matters. Product quality matters. So does the person installing it.
In South East Queensland, humidity and slab moisture can be the difference between a floor that lasts and one that blisters, peels or develops cloudy patches. Coastal conditions around places like the Gold Coast and Sunshine Coast make moisture assessment especially important. A good installer treats that as a technical requirement, not a box-ticking exercise.
The real stages of epoxy floor installation
The first stage is inspection. Before any grinder starts, the slab needs to be assessed for age, strength, contamination, previous coatings, moisture content and existing damage. New concrete cannot always be coated straight away. If the slab is still curing or holding too much moisture, rushing the process can trap vapour beneath the coating.
Next comes surface preparation, which is the most important part of the whole job. Professional installers mechanically grind the concrete to open the pores and create the profile required for adhesion. Acid etching is not a substitute for proper grinding on a premium installation. Grinding removes weak laitance, old sealers and surface contamination while giving the resin a clean, keyed surface to bond with.
After grinding, cracks, pitting and minor surface defects are repaired. This stage is often overlooked, but it directly affects the final finish. A decorative flake system can disguise small imperfections better than a plain coating, while a solid-colour gloss floor tends to show more. If the slab is badly damaged, it may need more extensive patching or resurfacing before coating begins.
The primer coat usually follows. Its job is to penetrate the prepared concrete and promote strong adhesion between the slab and the build coats above. On some floors, especially where there are moisture concerns, a specialised moisture-tolerant or vapour-managing primer may be required. This is one of those areas where product selection should be driven by site conditions, not guesswork.
Then the main body coat is applied. Depending on the system, this may be a solid-colour epoxy, a decorative flake broadcast, or a metallic resin finish. For garages and workshops, flake systems are popular because they add texture, visual depth and good day-to-day practicality. For display areas or premium interiors, metallic finishes can create a more custom look, though they typically require stricter installation control and suit some environments better than others.
The final topcoat seals the system and affects the floor’s wear resistance, UV stability, chemical resistance and slip profile. In some settings, epoxy alone is not the best final wear layer. A polyurethane or polyaspartic topcoat may be used over epoxy to improve scratch resistance, chemical durability or colour stability. The right specification depends on how the floor will actually be used.
What can change the specification
A proper epoxy flooring installation guide does not pretend every floor needs the same build. A domestic garage has different demands to a food prep area, a warehouse aisle or a showroom. The finish should suit traffic levels, cleaning methods, exposure to chemicals, and safety requirements.
For example, a garage floor needs to cope with tyre heat, oil drips, turning wheels and frequent sweeping. A warehouse floor may need greater build thickness and stronger abrasion resistance. A commercial entrance or wash-down area may require a higher level of slip resistance to help meet Australian standards, including AS 4586 where relevant.
There is also a trade-off between texture and cleanability. More slip resistance generally means a rougher surface. That can improve safety in wet areas, but it may also make the floor slightly harder to mop than a smoother showroom finish. The best result is not the roughest floor or the glossiest one – it is the finish that matches the job.
Drying time, curing time and when you can use the floor
This is where expectations need to be realistic. Epoxy flooring does not reach full strength the moment it feels dry to the touch. Initial cure may allow light foot traffic within a day or two, but heavier traffic and vehicle use often need longer. Temperature, humidity and product type all affect cure times.
In warm Queensland conditions, some systems cure faster, but humidity can still complicate the process if the slab or air conditions are not managed properly. Bringing a car back onto the floor too early can mark the coating or affect final hardness. For commercial spaces, installation planning is often just as important as the coating itself because downtime has a cost.
Why DIY often looks cheaper than it is
DIY epoxy products can look attractive on price, but the comparison is usually uneven. Most homeowner kits are lower-solids products with limited build and less forgiving performance. More importantly, they are usually applied over concrete that has been cleaned but not mechanically prepared to professional standards.
That is where failures start. If the slab is not ground correctly, if oil has soaked into the concrete, or if moisture is pushing up from below, the coating may peel regardless of what the label promises. The floor might look acceptable for a few months, then start lifting under hot tyres or around damp areas.
Professional installation costs more because it includes the work that actually makes the system durable – inspection, grinding, repairs, moisture control, correct mixing ratios, controlled application and a specification matched to the site. For property owners who want a finish that lasts, that spend usually makes better long-term sense than redoing a failed floor.
How to judge installation quality before you approve a quote
The quickest way to compare epoxy flooring proposals is to look beyond the square metre rate. Ask what preparation method is included, whether crack repair is allowed for, what coating build is proposed, and what topcoat will be used. If moisture is a risk, ask how it will be assessed and managed.
You should also ask about slip resistance, especially in commercial settings or wet-prone areas. A floor can look excellent and still be the wrong choice if it does not suit the site’s safety requirements. The same goes for UV exposure. Standard epoxy can amber over time in direct sunlight, so external edges or sunlit spaces may need a different finish or a UV-stable topcoat.
A quality-focused contractor should be clear about these trade-offs. They should also explain the expected downtime, aftercare, and warranty terms in plain language. Resin Masters, for example, positions its work around rigorous preparation, moisture-aware installation and long-term performance because those details are what separate a floor that lasts from one that simply photographs well on day one.
Epoxy flooring installation guide for long-term performance
Once installed, epoxy flooring is relatively low maintenance, but it is not maintenance-free. Grit and sand should be swept out regularly because they can act like sandpaper under foot and wheel traffic. Spills should be cleaned promptly, especially oils, solvents and harsher chemicals. Use a pH-neutral cleaner where possible and avoid aggressive scrubbing with unsuitable pads.
If the floor is in a garage or warehouse, place heavy items carefully rather than dragging them across the surface. In commercial environments, routine inspection helps catch isolated damage early before it spreads. A professionally installed floor should handle daily use well, but like any finish, it performs best when used as intended.
The strongest epoxy floor is never just a tin of coating. It is a system built on proper assessment, proper preparation and proper application. If you are comparing options for a garage, shop, warehouse or high-traffic workspace, focus on the part you cannot easily see once the job is done – the groundwork. That is where lasting performance is built, and it is what keeps the floor working hard long after the shine settles.