Servicing : Gold CoastBrisbaneSunshine CoastToowoomba

Brisbane Garage Epoxy Project Example Explained
A garage floor can look acceptable until Queensland summer exposes its weak points. Hot tyres can lift failing paint, moisture can push coatings away from the slab, and everyday oil drips become difficult to remove from bare concrete. This Brisbane garage epoxy project example shows what a professional installation involves when the goal is a floor that looks sharp and performs properly for years.
The project is based on a typical two-car Brisbane garage used for daily parking, weekend DIY work and storage. The owners wanted a cleaner, brighter space that could handle two vehicles, a ute occasionally parked inside, bicycle traffic and the usual mix of gardening gear, tools and tyre marks. They did not want a thin DIY coating that would need replacing after a few summers.
The starting point: sound concrete, poor surface performance
The slab was structurally sound, but it had the familiar signs of a hard-working garage. There were small hairline cracks, old oil spots near the parking bays, tyre shadows and a patchy surface from previous attempts at sealing the concrete. The floor also had low-level moisture risk, which is common in Brisbane homes where humidity, rainfall and ground conditions can affect concrete over time.
This is where an epoxy project is won or lost. Epoxy does not simply cover a floor. It relies on a stable, clean and correctly profiled concrete surface to form a long-lasting bond. Applying resin over dust, contaminants, weak concrete laitance or hidden moisture may produce a good-looking floor at first, but the risk of peeling, bubbling and delamination increases significantly.
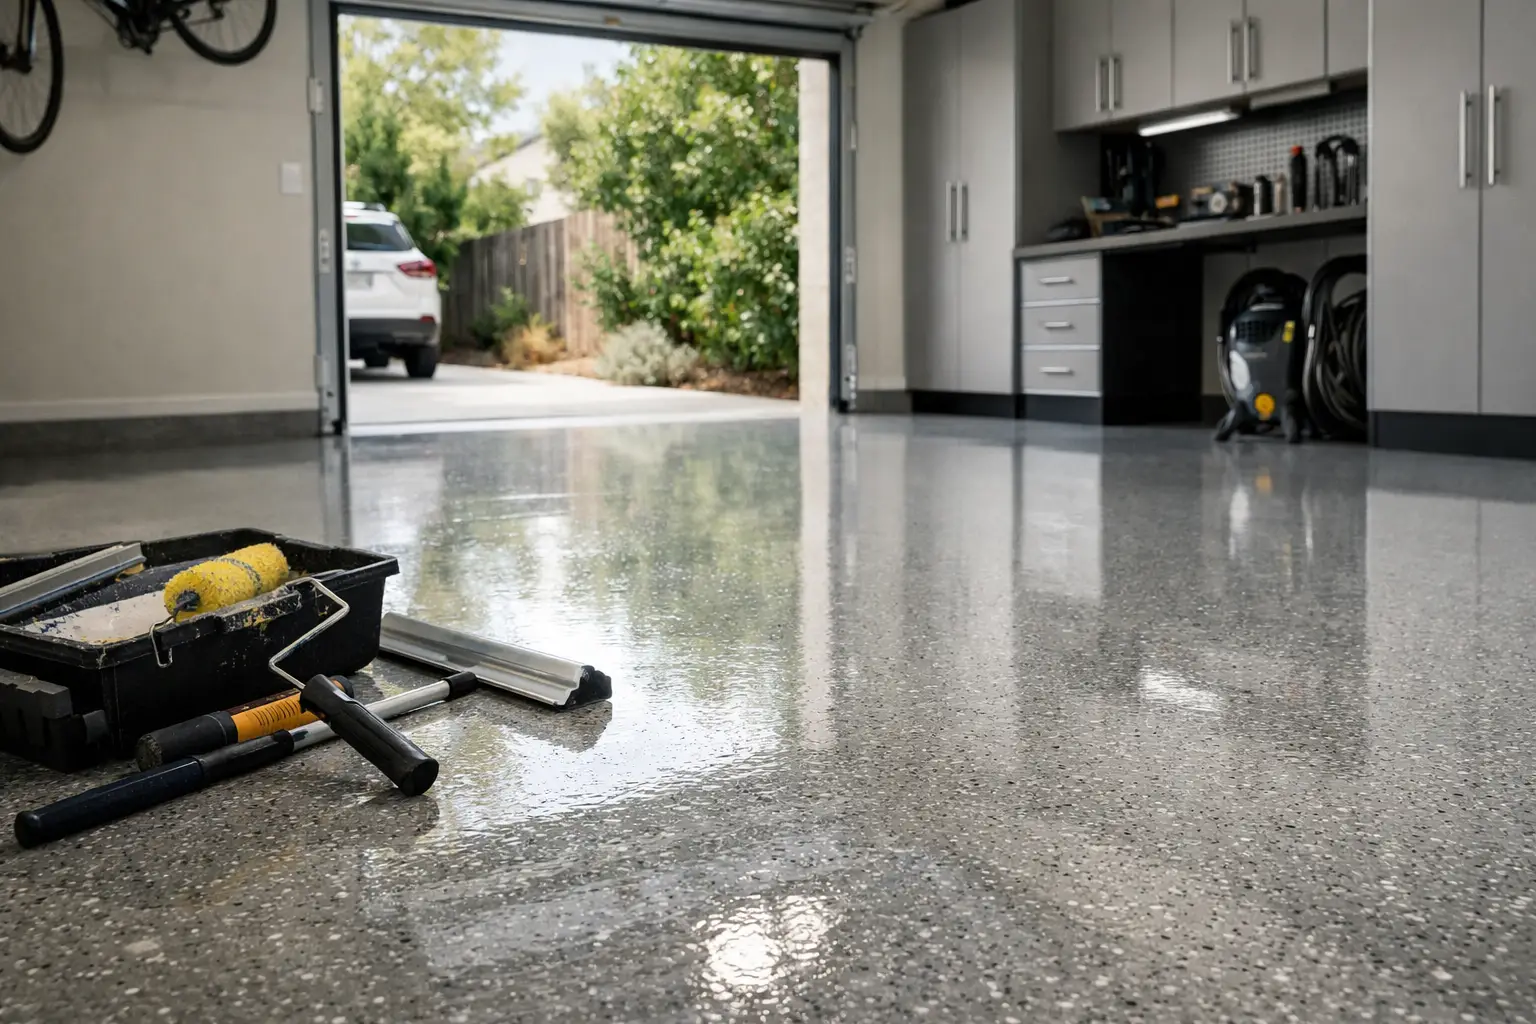
The owners chose a decorative flake epoxy system in a mid-grey blend. It suited the home’s modern exterior, helped disguise day-to-day dust, and added texture for a more practical walking surface than a high-gloss plain coating alone.
Brisbane garage epoxy project example: the installation process
1. Inspection, moisture checks and floor planning
Before any machinery entered the garage, the slab was assessed for cracking, surface hardness, existing coatings and contamination. Moisture testing was also part of the planning process. Queensland’s humid conditions make this step particularly valuable, because moisture vapour moving through concrete can compromise a resin system if it is not managed correctly.
The installation plan considered how the garage would be used, not just its square metres. A family garage needs a finish that is easy to clean, resistant to hot tyre pickup and comfortable underfoot. A garage doubling as a workshop may need greater chemical resistance and a more textured finish. For this project, the balance was a premium decorative surface with practical slip resistance for normal residential use.
2. Mechanical concrete preparation
The floor was mechanically diamond-ground to remove weak surface material, old sealer residue and contamination. This creates the correct concrete profile for the coating system to grip into the slab rather than merely sit on top of it.
Grinding also revealed areas that needed further attention. A few oil-affected spots received targeted treatment, while the floor edges and corners were prepared with hand-held equipment. Professional dust extraction kept the work area controlled and reduced the chance of airborne dust settling back onto the prepared surface.
This stage is not glamorous, but it is the part that protects the investment. A premium epoxy system cannot compensate for rushed preparation. Resin Masters treats surface preparation as a core part of the job because the final floor is only as reliable as the concrete beneath it.
3. Crack repairs and detail work
The visible hairline cracks were chased, cleaned and filled with a compatible repair material before being ground flush. This does not stop a slab from moving if there is significant structural movement, but it creates a tidy, stable surface beneath the coating.
The expansion joints were assessed separately. Not every joint should be filled over, particularly where movement is expected. Depending on the slab and the joint’s purpose, a professional installer may retain and seal the joint rather than conceal it. This is a small detail that helps avoid cracking through an otherwise flawless new finish.
4. Primer and moisture-control layer
Once the concrete was clean and properly profiled, a primer coat was applied. Where moisture readings or site conditions call for it, a moisture-control solution can be incorporated to support adhesion and protect the resin system from moisture vapour pressure.
The right approach depends on the slab. A dry, well-performing garage floor may not require the same moisture-management measures as an older home on a damp site. That is why fixed, one-size-fits-all coating packages can be a false economy. The system should suit the condition of the actual concrete, not simply the colour selected from a brochure.
5. Decorative flake broadcast and protective topcoat
The colour flakes were broadcast into the wet resin to achieve a full, even decorative finish. Full broadcast flake systems create visual depth and help conceal minor marks between cleans. They are also a practical choice for garages because the finish feels more forgiving than plain gloss when dust, grit or tyre residue appears.
After curing, the excess flakes were removed and the floor was scraped and vacuumed to create a consistent texture. A high-performance clear topcoat was then applied to seal the system, enhance durability and provide the chosen sheen level.
For a garage, gloss is only one consideration. A very glossy floor can look impressive, but the correct texture and slip-resistance performance matter more where wet shoes, rainwater or vehicle wash-down are likely. For commercial and shared-use spaces, slip-resistance requirements may need to align with AS 4586. Residential garages also benefit from selecting a finish that is practical for real use, rather than chasing a showroom appearance at the expense of traction.
The finished garage: what changed
The completed floor transformed the garage from a storage space into a clean extension of the home. The grey flake blend brightened the room, reduced the visual impact of dust and gave the walls, cabinetry and vehicles a more finished backdrop. More importantly, the surface was seamless, non-porous and far easier to maintain than bare concrete.
Oil drips and light workshop spills can be wiped up before they penetrate the slab. Dirt is easier to sweep out, and periodic cleaning with a suitable pH-neutral product keeps the surface looking its best. The coating also provides strong resistance to tyre marks and abrasion when the correct system is installed and allowed to cure properly.
There are sensible expectations to keep in mind. Epoxy flooring is tough, not indestructible. Dragging sharp metal items across any coated floor can damage it, and harsh chemicals should not be left sitting for extended periods. A professional installer will provide clear aftercare guidance, including cure times before returning vehicles to the garage.
Why professional installation makes the difference
This type of floor can be tempting as a DIY weekend project, particularly when low-cost kits promise quick results. The issue is rarely the idea of epoxy itself. It is preparation, moisture management, product selection, mixing accuracy, application timing and topcoat quality.
DIY coatings are commonly applied to concrete that has only been acid-washed or pressure-cleaned. That may not remove all contaminants or provide the mechanical profile needed for reliable adhesion. In Brisbane’s climate, ignoring moisture and humidity can make the risk even greater. When coatings fail, repairing them often means grinding the entire floor again before a proper system can be installed.
A professional epoxy flooring project costs more upfront because it includes the work that cannot be seen once the floor is complete: assessment, grinding, repairs, dust control, specified resin layers and careful curing. Those steps support the long-term performance homeowners expect from a premium garage floor, backed by a 7-year warranty.
Is a flake epoxy floor right for every Brisbane garage?
For most residential garages, a flake epoxy system is an excellent all-round option. It combines a decorative finish with hard-wearing performance and straightforward maintenance. Plain-colour epoxy may suit homeowners wanting a cleaner, more minimal look, while metallic epoxy is generally better suited to feature areas where visual impact is the priority.
The best choice depends on the slab, the amount of direct sunlight, whether vehicles park inside daily, and how the space is used. A garage that also serves as a workshop, home gym or storage area may benefit from a different texture, colour blend or topcoat specification than a garage used only for parking.
A quality garage floor should make the space easier to use from the first day, while remaining dependable long after the novelty of the new finish has passed. Start with an on-site assessment of the concrete, then choose the coating system around the conditions your garage actually faces.